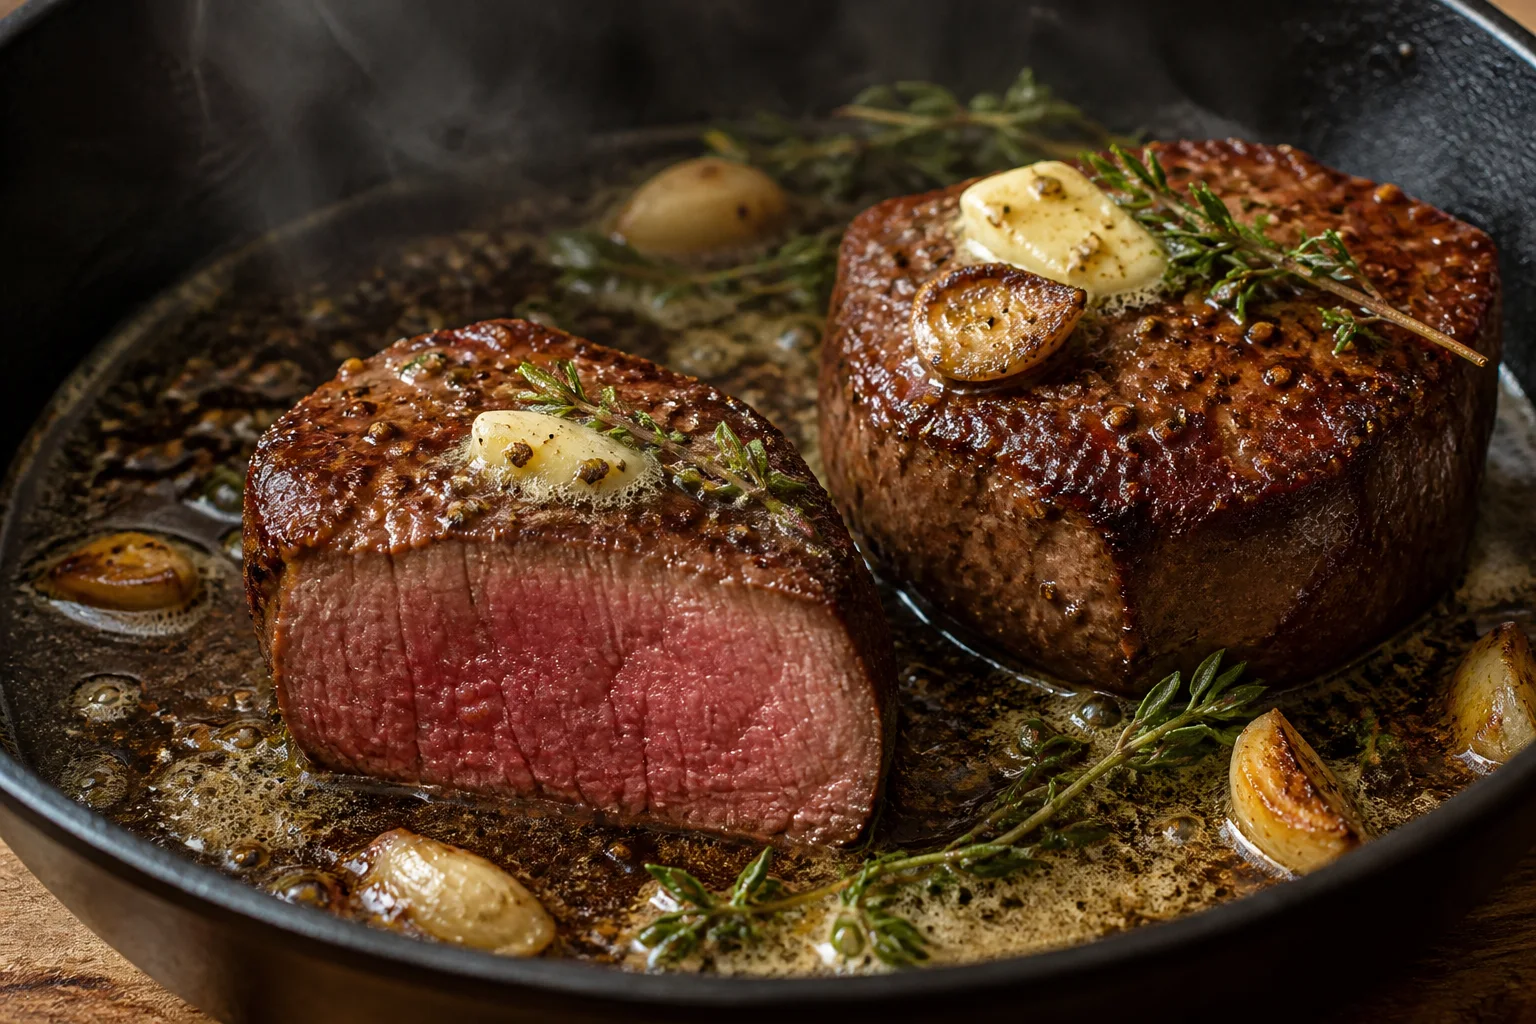
Filet Mignon
Cook filet mignon with an even sear, gentle butter baste and accurate center temperature, plus buying, resting and pan-sauce guidance.
- Prep
- 15 minutes
- Cook
- 12 minutes
- Rest
- 7 minutes
- Total
- 34 minutes
- Serves
- 2
- Yield
- 2 filet mignon steaks
Equipment
- cast-iron skillet
- kitchen twine
- tongs
- instant-read thermometer
Ingredients
- 2 center-cut filet mignon steaks, 6 to 8 ounces each
- 1 teaspoon kosher salt
- 1 teaspoon neutral high-heat oil
- 1/2 teaspoon black pepper
- 2 tablespoons unsalted butter
- 1 crushed garlic clove
- 2 thyme sprigs
Instructions
- Shape and season
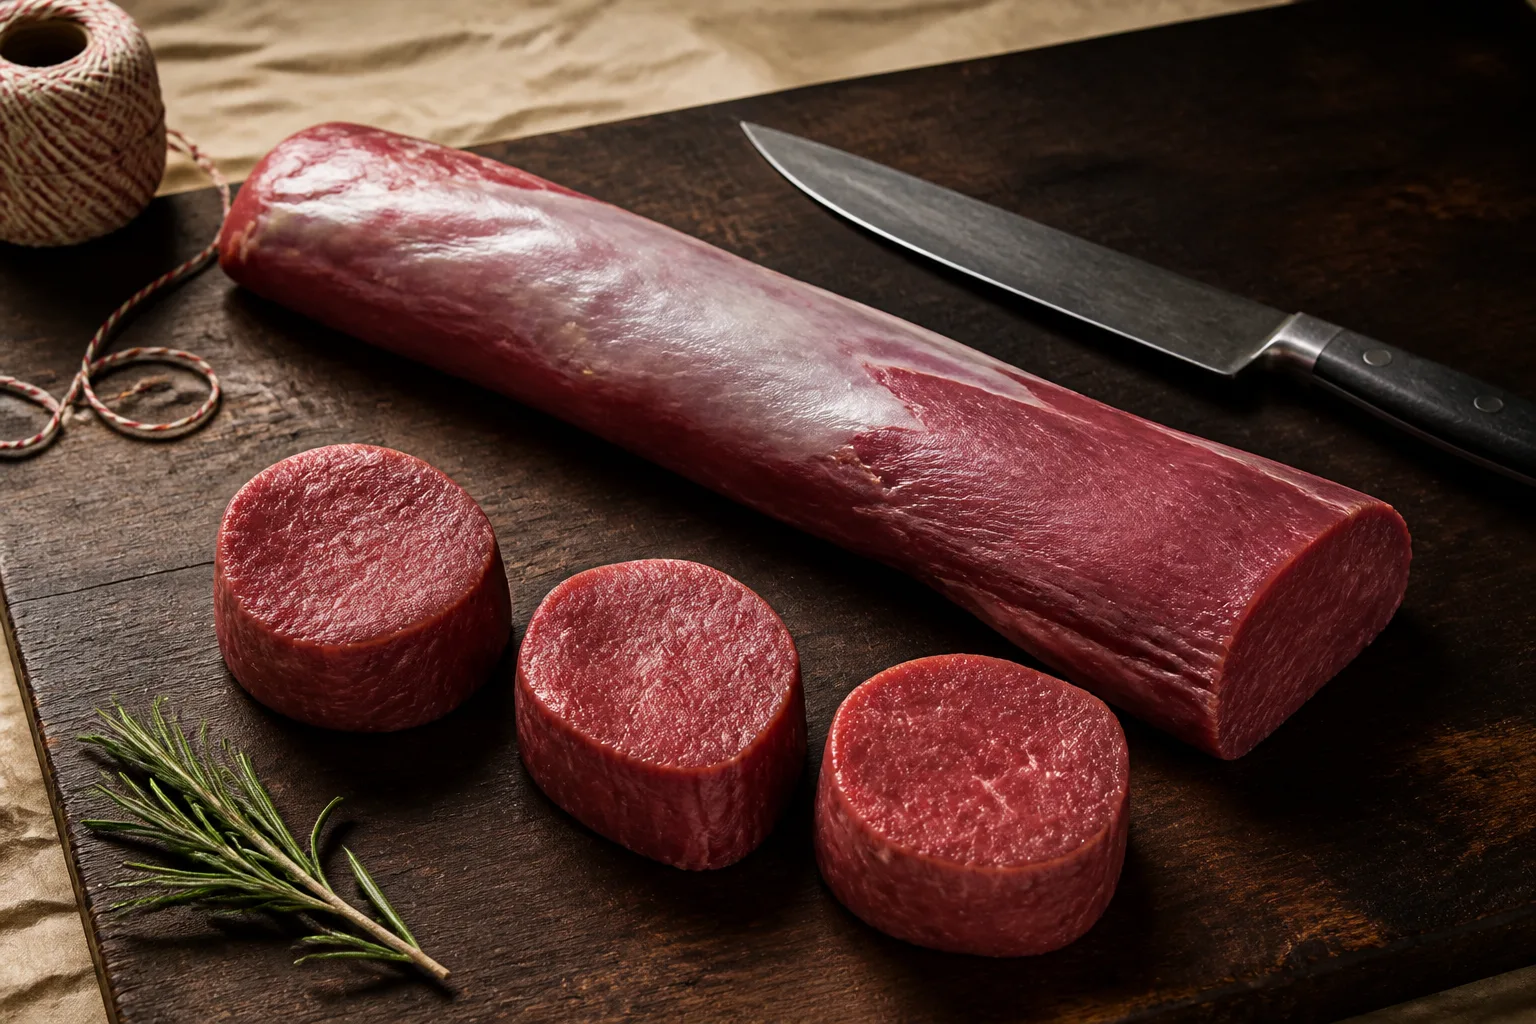
Tie each filet around its circumference if needed. Salt all surfaces and refrigerate uncovered, then dry and pepper before cooking.
- Sear the faces
Preheat the skillet, add oil and brown the first face without moving. Flip and brown the second face.
- Brown the edge
Use tongs to roll each filet around its perimeter so the pale sides gain color.
- Baste and measure
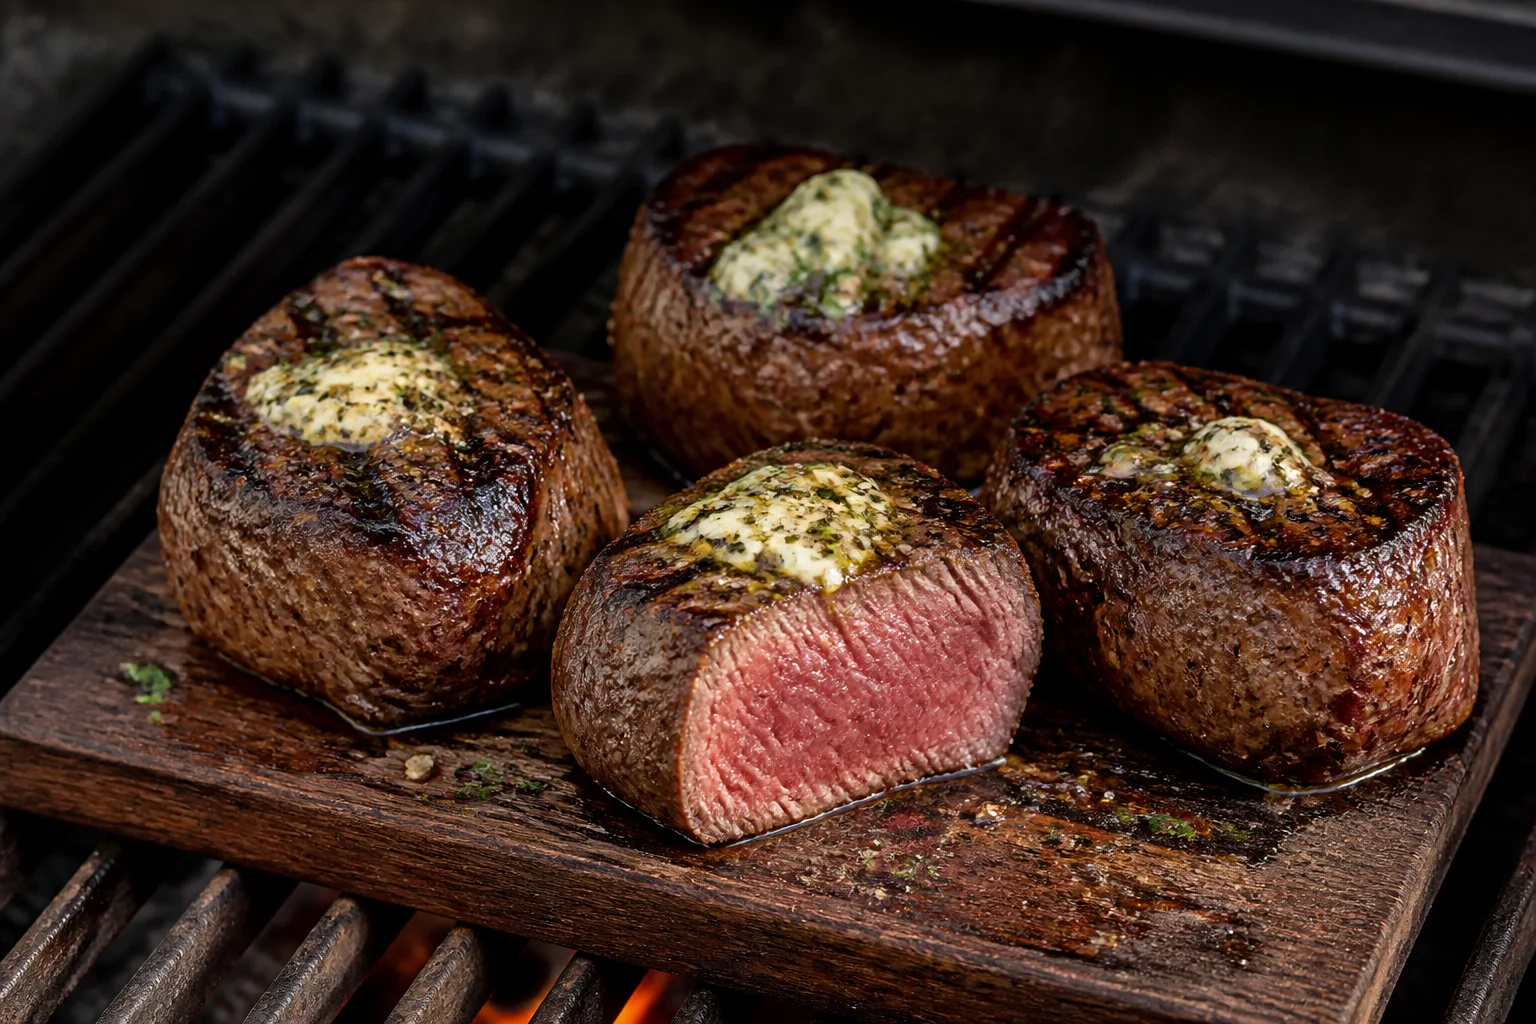
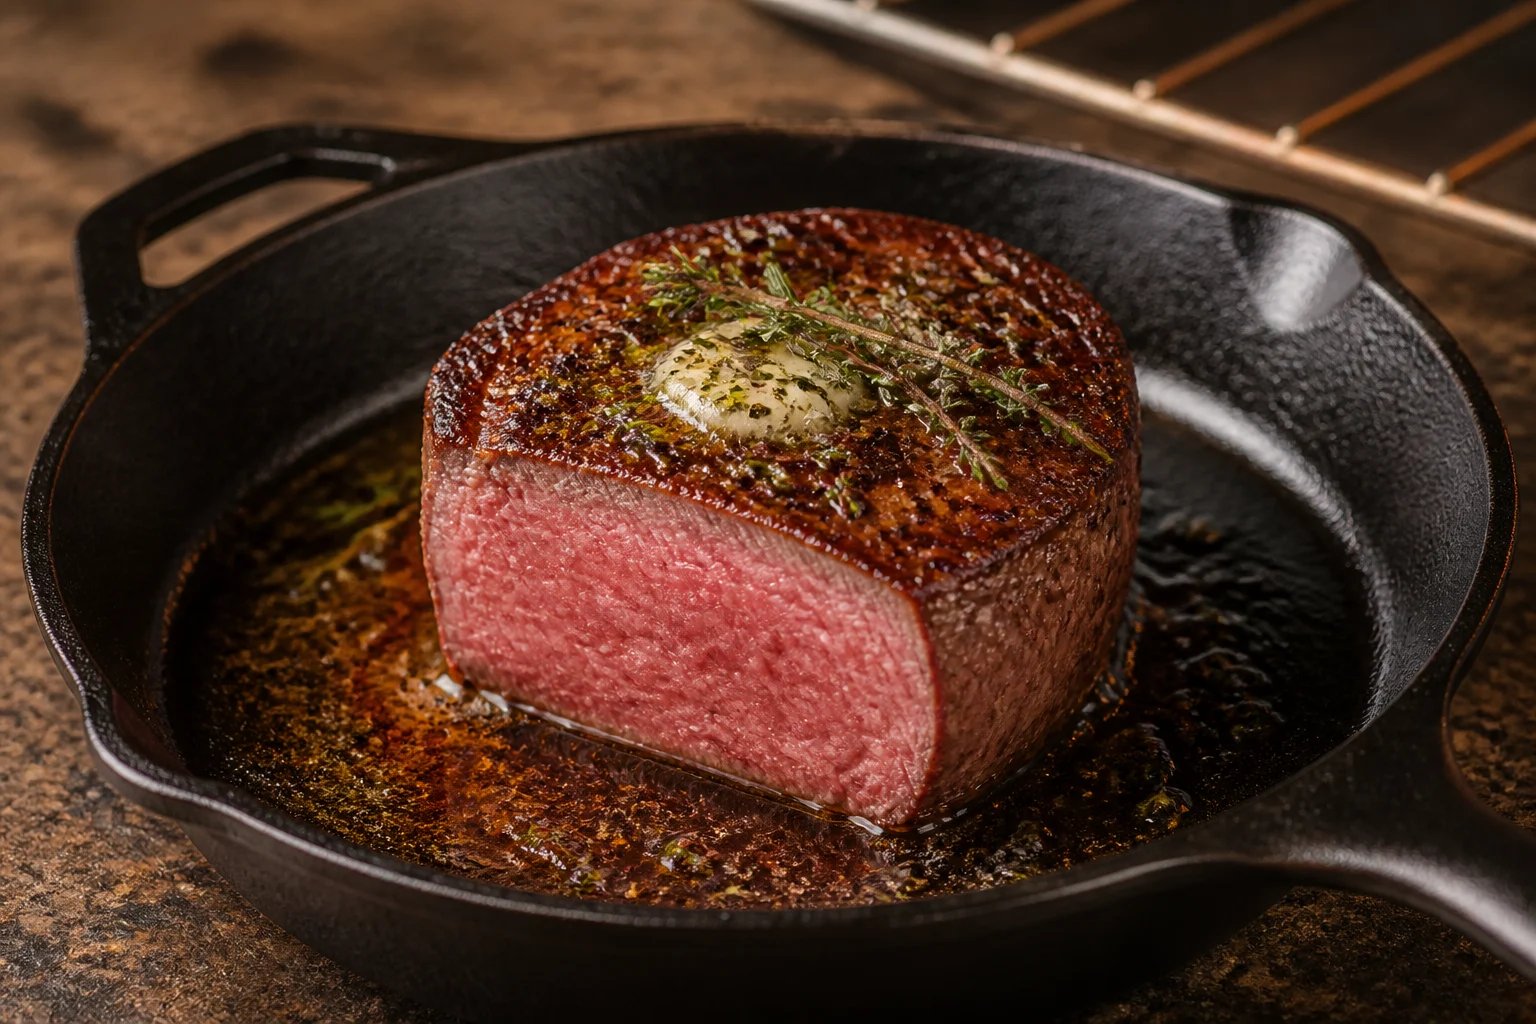
Reduce the heat, add butter, garlic and thyme, and baste briefly while checking the center through the side.
- Rest
Move the filets to a warm plate, rest 5 to 7 minutes and remove twine before serving.
Why This Filet Mignon Recipe Works
Filet mignon is lean and mild, so this recipe prioritizes even thickness, complete edge browning and a controlled aromatic butter baste rather than brute heat. The method separates surface browning, center temperature and final assembly so none of those jobs has to compensate for another. That is especially important when steak is paired with a sauce, bread, pasta, eggs or vegetables that continue cooking on their own schedule.
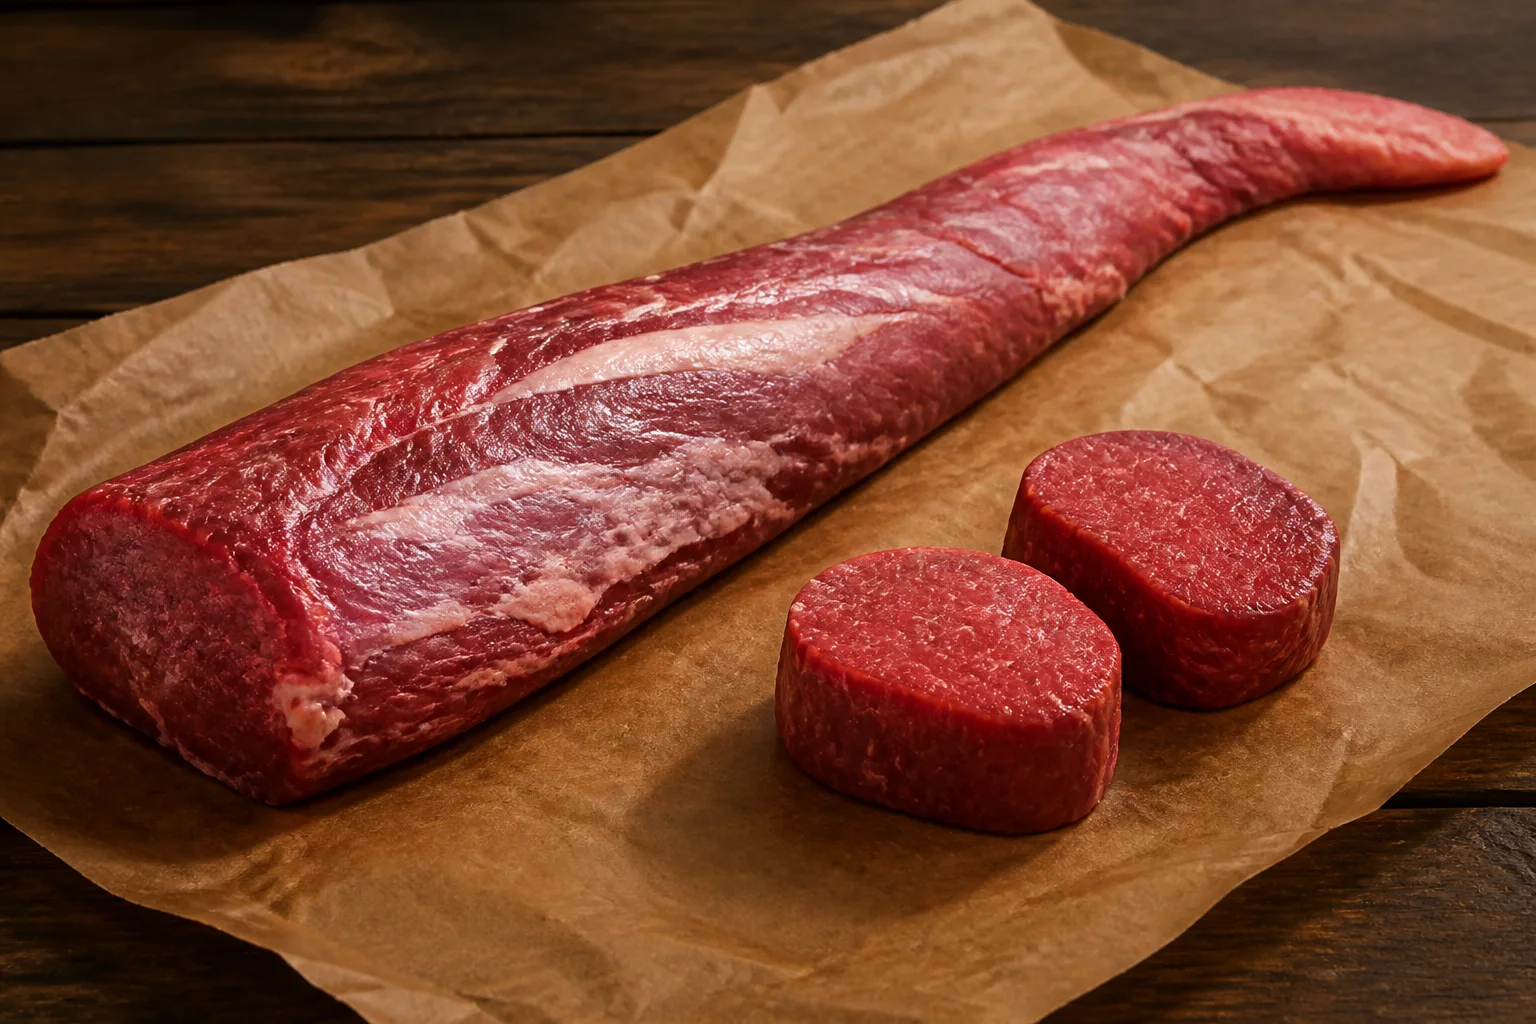
The recipe uses filet mignon because Center-cut tenderloin medallions are naturally tender and evenly shaped, but their low fat content gives them a narrow margin against overcooking. If your butcher offers a different thickness, keep the ingredient ratios but change the cooking time. A thermometer gives a more reliable decision than a fixed minute count.
For a closer look at the beef itself, read the filet mignon guide. For the underlying heat technique, see cast-iron steak before you begin.
Choose and Prepare the Steak
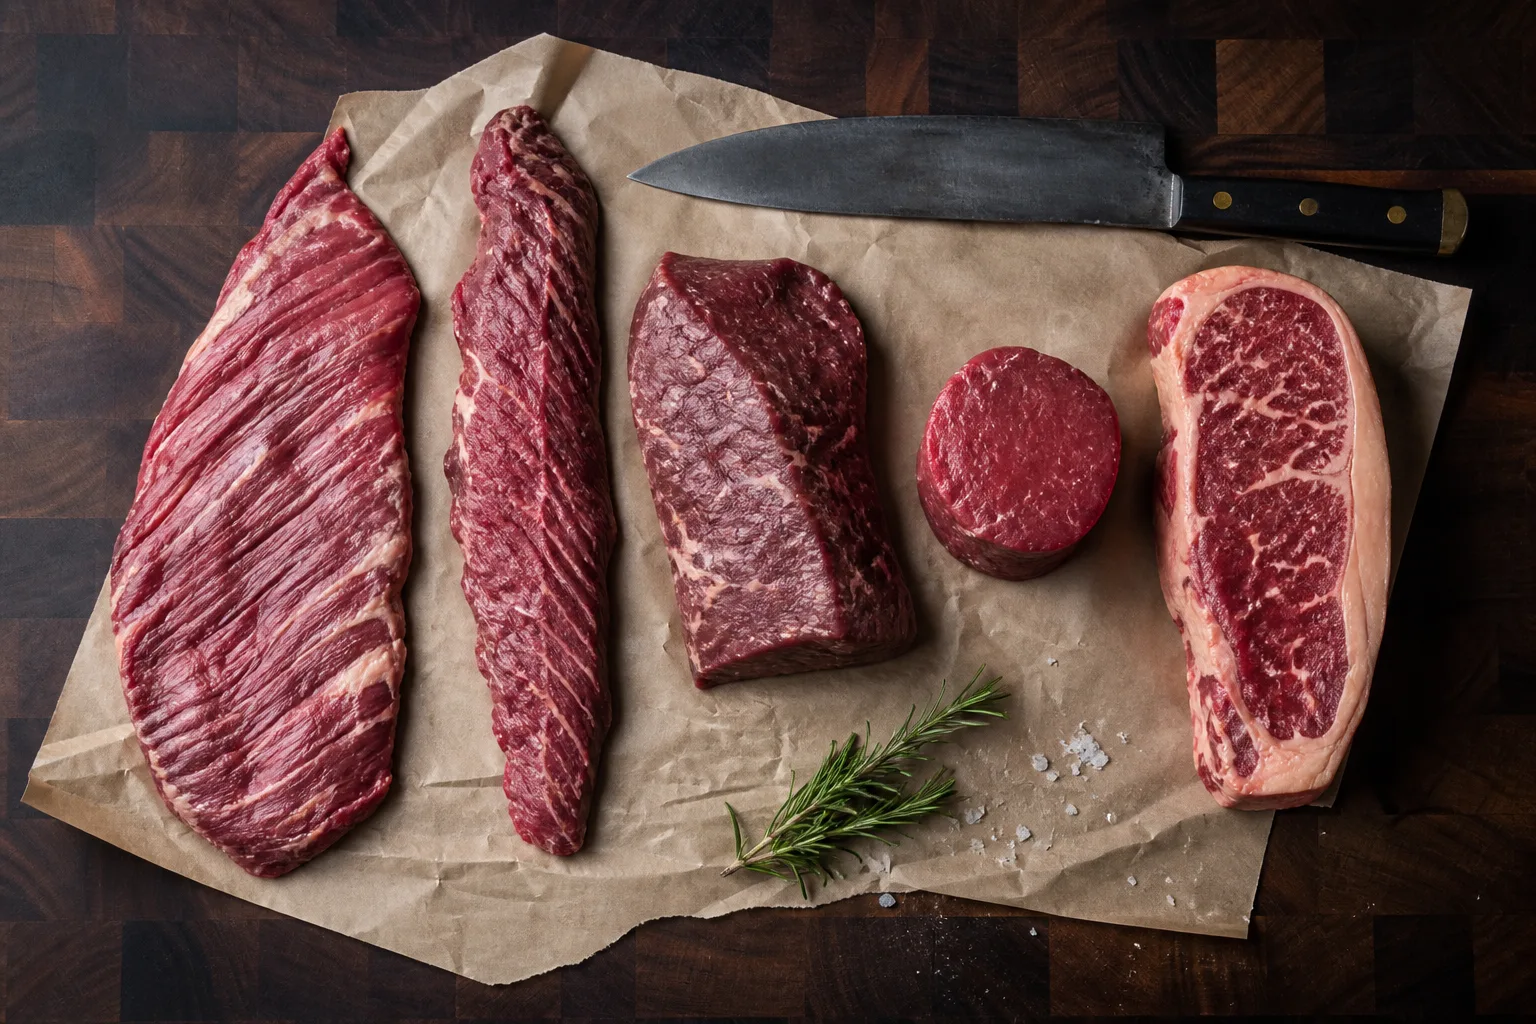
Center-cut tenderloin medallions are naturally tender and evenly shaped, but their low fat content gives them a narrow margin against overcooking. Buy steaks with a clean smell, intact cold packaging and a shape you can cook evenly. A tapered end will finish before the thick center; either tuck it, separate it or place it over gentler heat.
- Trim with purpose. Remove loose flaps and hard exterior seams, but keep edible fat that can render without causing uncontrolled flare-ups.
- Dry before seasoning. Surface water spends energy steaming. Blot thoroughly, then season all sides, including the narrow edges.
- Salt consistently. Weighing salt is the most repeatable approach. If using volume measures, remember that crystal size changes the amount in a spoon.
- Prepare every accompaniment first. Sauce, vegetables, bread, pasta, rice or eggs should be staged before the steak enters the hot pan or grill.
Tie loose filets into an even cylinder, salt in advance, dry again and season the tall edges as carefully as the broad faces. Do not leave raw beef at room temperature for hours in an attempt to “warm the center.” The practical gains are small and safe cold-chain handling remains important.
Cook It Step by Step
- Shape and season: Tie each filet around its circumference if needed. Salt all surfaces and refrigerate uncovered, then dry and pepper before cooking.
- Sear the faces: Preheat the skillet, add oil and brown the first face without moving. Flip and brown the second face.
- Brown the edge: Use tongs to roll each filet around its perimeter so the pale sides gain color.
- Baste and measure: Reduce the heat, add butter, garlic and thyme, and baste briefly while checking the center through the side.
- Rest: Move the filets to a warm plate, rest 5 to 7 minutes and remove twine before serving.
Brown both faces and the perimeter, then lower the heat for a short butter baste while measuring through the side toward the center. Pan temperature, grill output, steak thickness and starting temperature all affect elapsed time, so the stated cook time is a planning range rather than a promise. Measure at the coolest central point and keep the probe away from bone, a large fat seam or the hot cooking surface.
- 01Prepare all components
- 02Dry and season the steak
- 03Build controlled browning
- 04Measure the center
- 05Rest before slicing
- 06Assemble and serve immediately
Rest, Slice and Finish
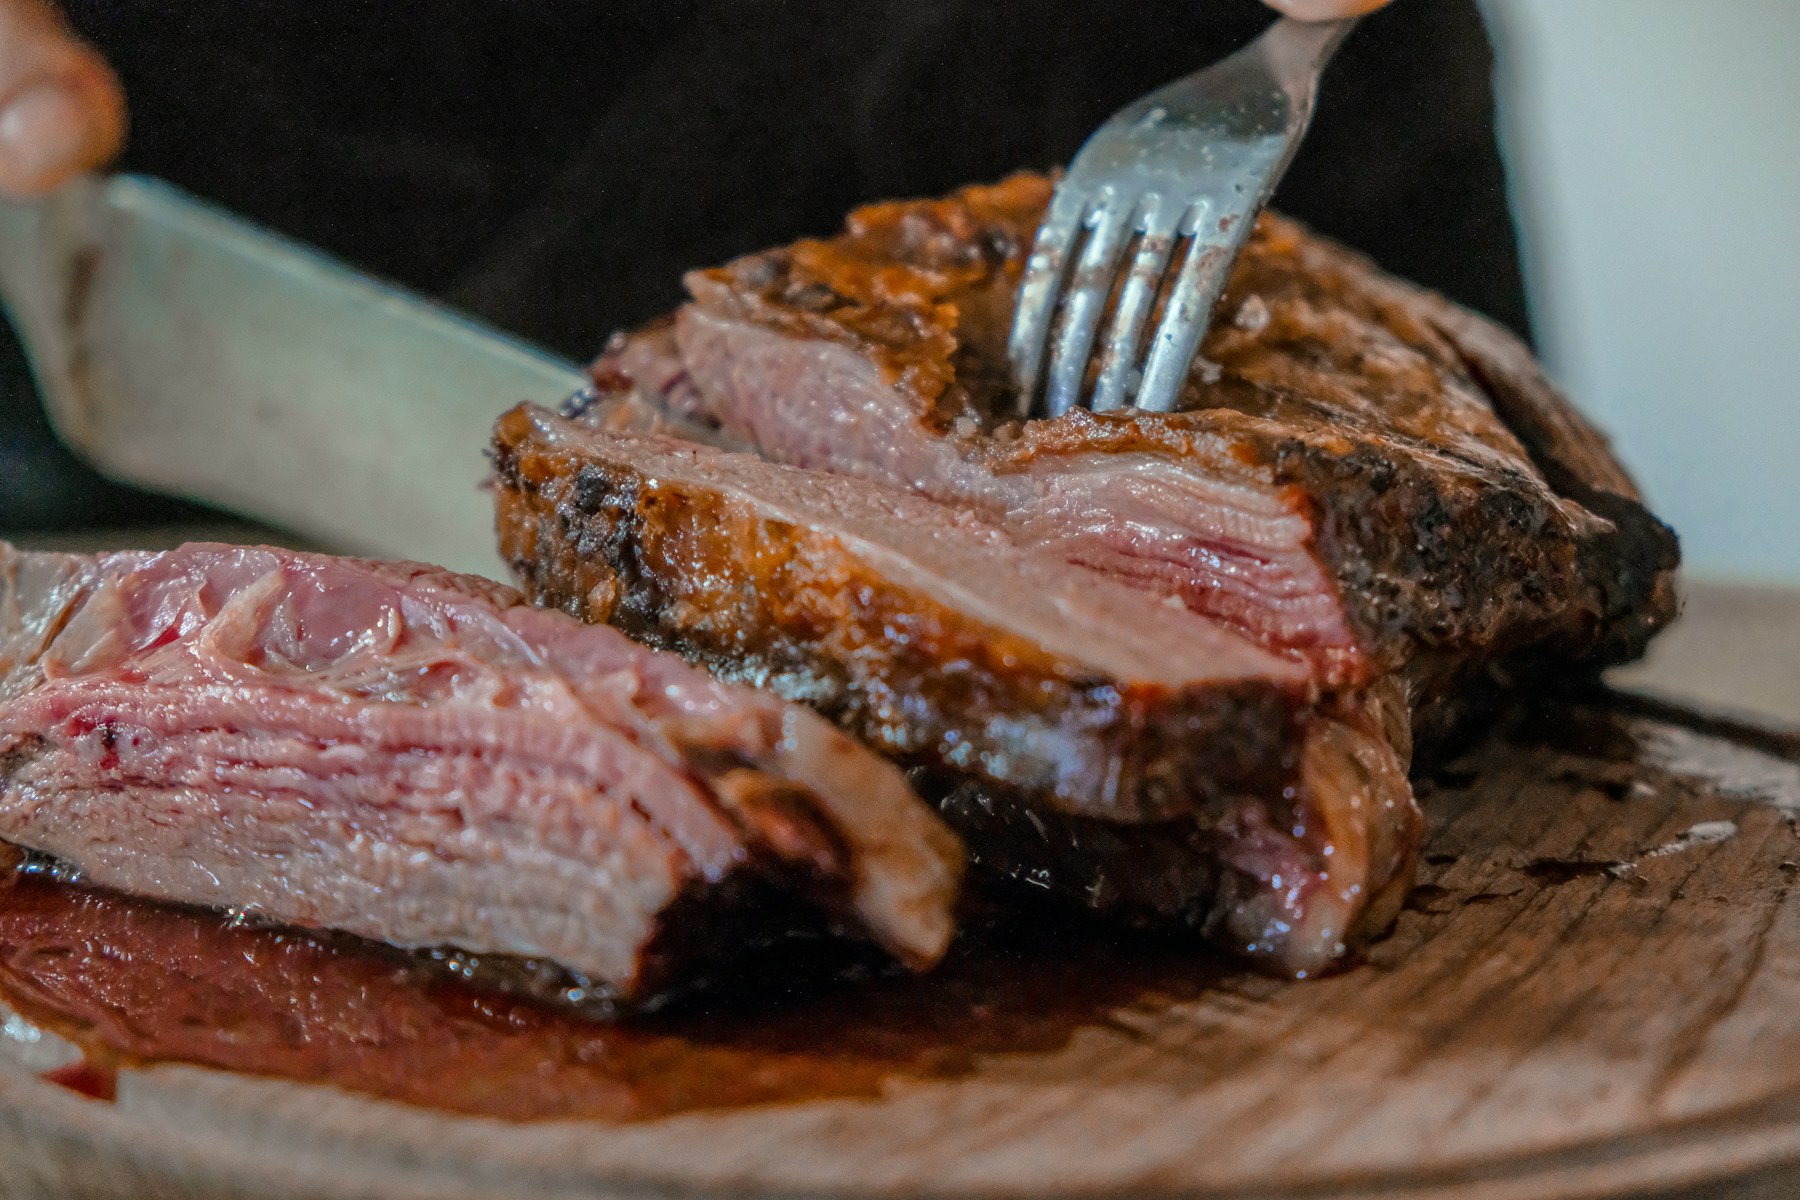
Rest five to seven minutes and serve whole or halve cleanly; spoon a restrained amount of the strained aromatic butter over each filet. Resting is a thermal phase, not a ritual with one universal duration. A thick steak retains more heat and usually needs longer than thin strips. Keep the rest uncovered or very loosely tented so the crust does not steam.
Find the direction of the long muscle fibers before cutting. Slice across those fibers when the recipe calls for strips; that shortens each bite. Tenderloin medallions and ground-beef patties do not need the same grain correction, but they still benefit from a clean, sharp knife and deliberate portioning.
Pair with mushrooms, asparagus, pommes purée or a bright shallot pan sauce rather than burying the delicate beef. Taste the complete bite before adding more salt. Cheese, reduced sauce, seasoned rice, bread, capers and dressings may contribute enough sodium after assembly.
Common Mistakes and Practical Fixes
| Problem | Likely cause | Better move |
|---|---|---|
| Pale surface | Wet beef or crowded pan | Dry thoroughly and cook in batches |
| Burned exterior, cool center | Heat too aggressive for thickness | Move to gentler indirect heat and measure |
| Tough sliced steak | Cut with the grain or overcooked | Rotate and slice across visible fibers |
| Watery sauce or bowl | Steak juices added before resting | Rest separately, then add only the juices you want |
| Cold final dish | Accompaniments were started too late | Stage the full recipe before searing |
The best correction is usually procedural, not a larger amount of sauce. Control moisture, heat zones, sequencing and temperature first. Those four variables explain most failed steak recipes and make the next attempt repeatable.
Storage and Leftover Strategy
Keep leftover filet whole and chilled; use thin cold slices or warm gently in a covered low-temperature pan. Cool leftovers promptly in shallow containers and refrigerate rather than leaving the assembled dish on the counter. Store wet sauce separately from bread, greens or crisp vegetables whenever possible.
For reheating, protect the steak from another full high-heat cook. Thin slices can be warmed briefly in sauce, folded into hot rice at the last moment or placed on a sandwich after the other components are hot. If the steak is already at your preferred doneness, serving it cool or room-cool in a salad can preserve texture better than microwaving until piping hot.
To use the same skills in another meal, continue with filet mignon, tenderloin steak, steak medallions, cast iron steak, steak temperature, wagyu filet mignon. Each guide changes the cut, heat source or final assembly while keeping temperature and slicing decisions explicit.
Where This Guide Fits
This page supports the broader Filet Mignon guide. Use that pillar page for the complete cut family, buying framework and links to every closely related article.
Useful next reads include Tenderloin Steak, Grilled Filet Mignon, Reverse Sear Filet Mignon, T-Bone Steak, and Porterhouse Steak for nearby cuts, methods and decisions.
Frequently Asked Questions
What is the best cut for filet mignon?
filet mignon is the primary choice here because its shape and texture suit the method. A substitute can work, but thickness, grain and cooking time must be adjusted.
Can I prepare filet mignon ahead?
Prepare sauces, vegetables and dry ingredients ahead. Cook and slice the steak close to serving for the best crust and temperature.
Should steak be sliced before or after cooking?
Cook whole steaks first unless the recipe specifically uses fast-cooking strips. Rest, identify the grain and slice across it before final assembly.
Sources & further reading
- USDA FSIS — Safe Minimum Internal Temperature Chart — Official safety guidance for whole beef steaks and roasts.