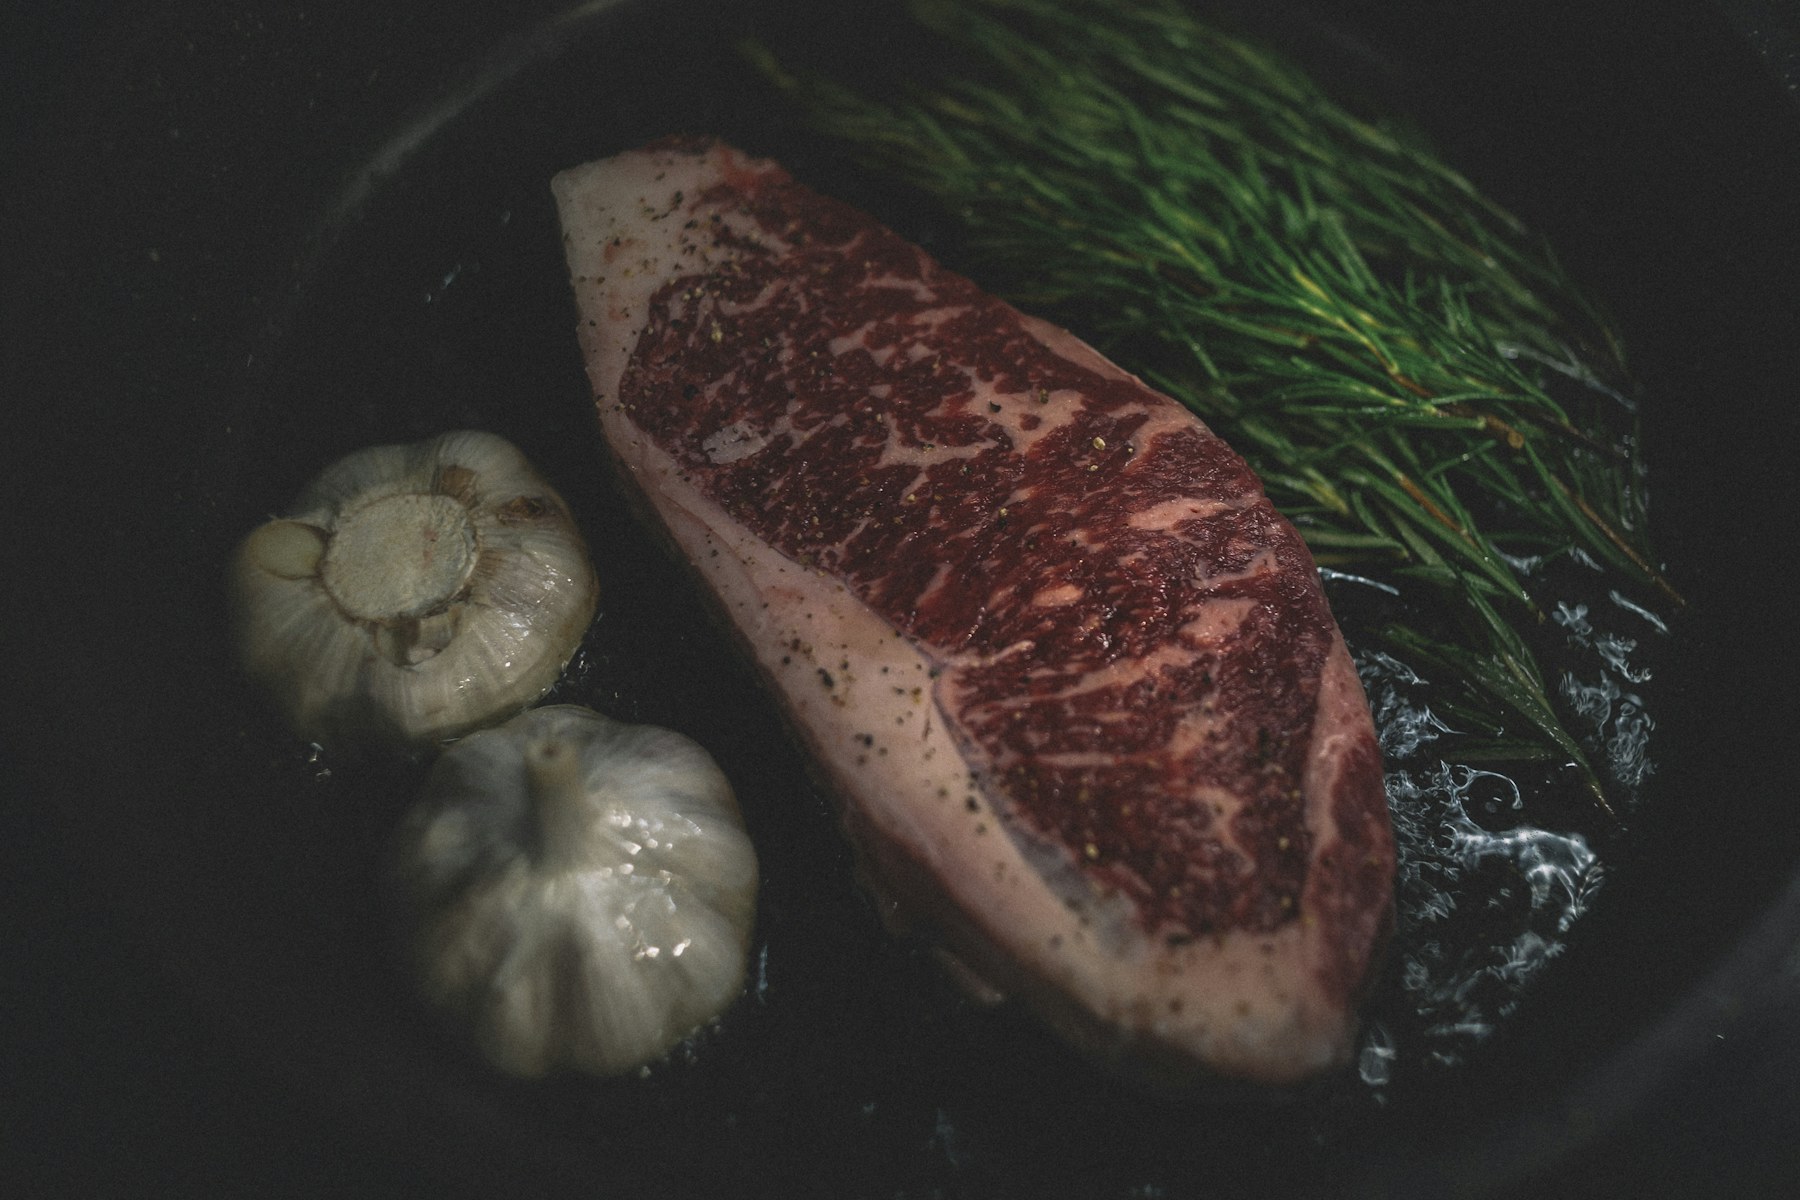
Choose Steak and Pan
A boneless ribeye around 1–1.5 inches thick suits direct pan cooking. Use a skillet with enough clear space that the steak does not press against the sides. For thicker or bone-in steak, start with reverse searing.
Sear With Frequent Turns
Pat dry, heat a thin film of neutral oil and lay the steak away from you. Turn every 30–45 seconds. This creates repeated surface contact while reducing the time one side drives heat inward. Brown the fat edge with tongs.
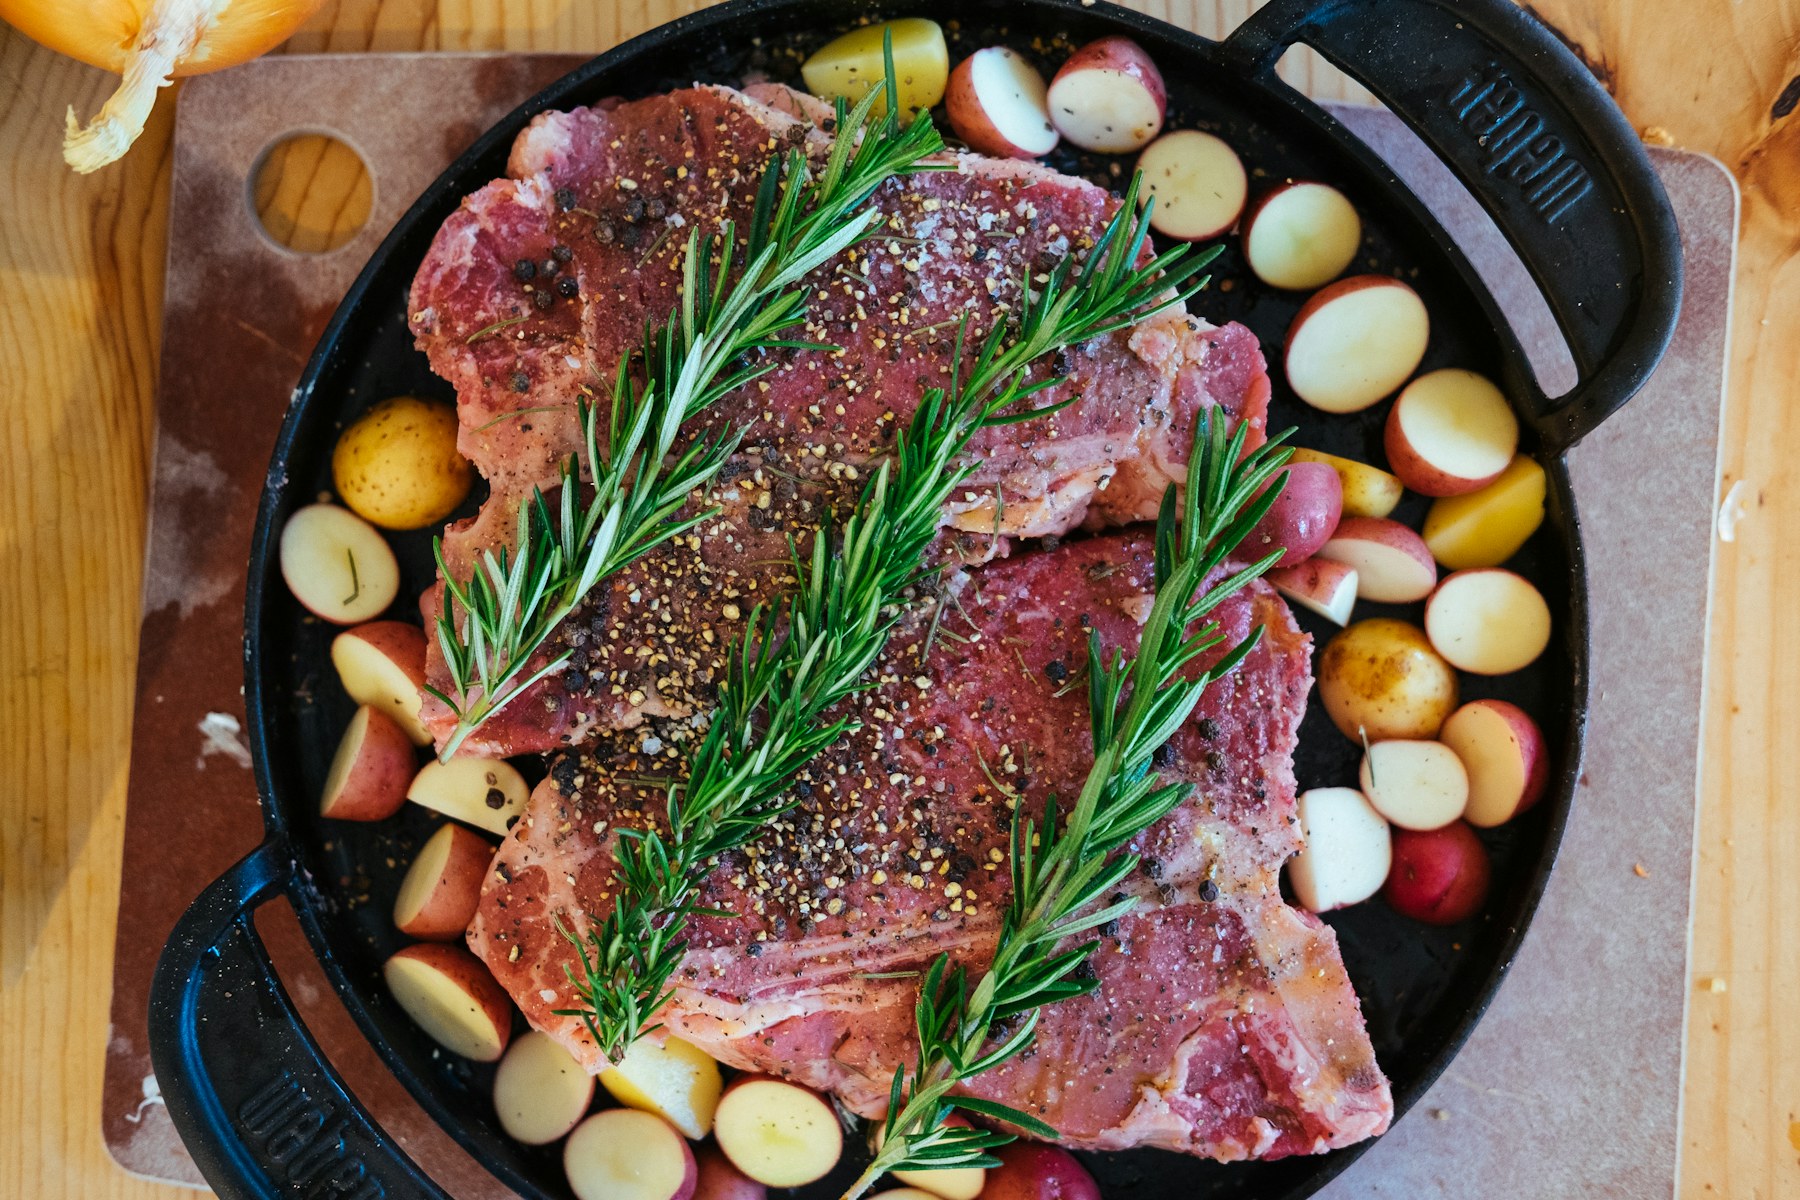
Baste Without Burning Butter
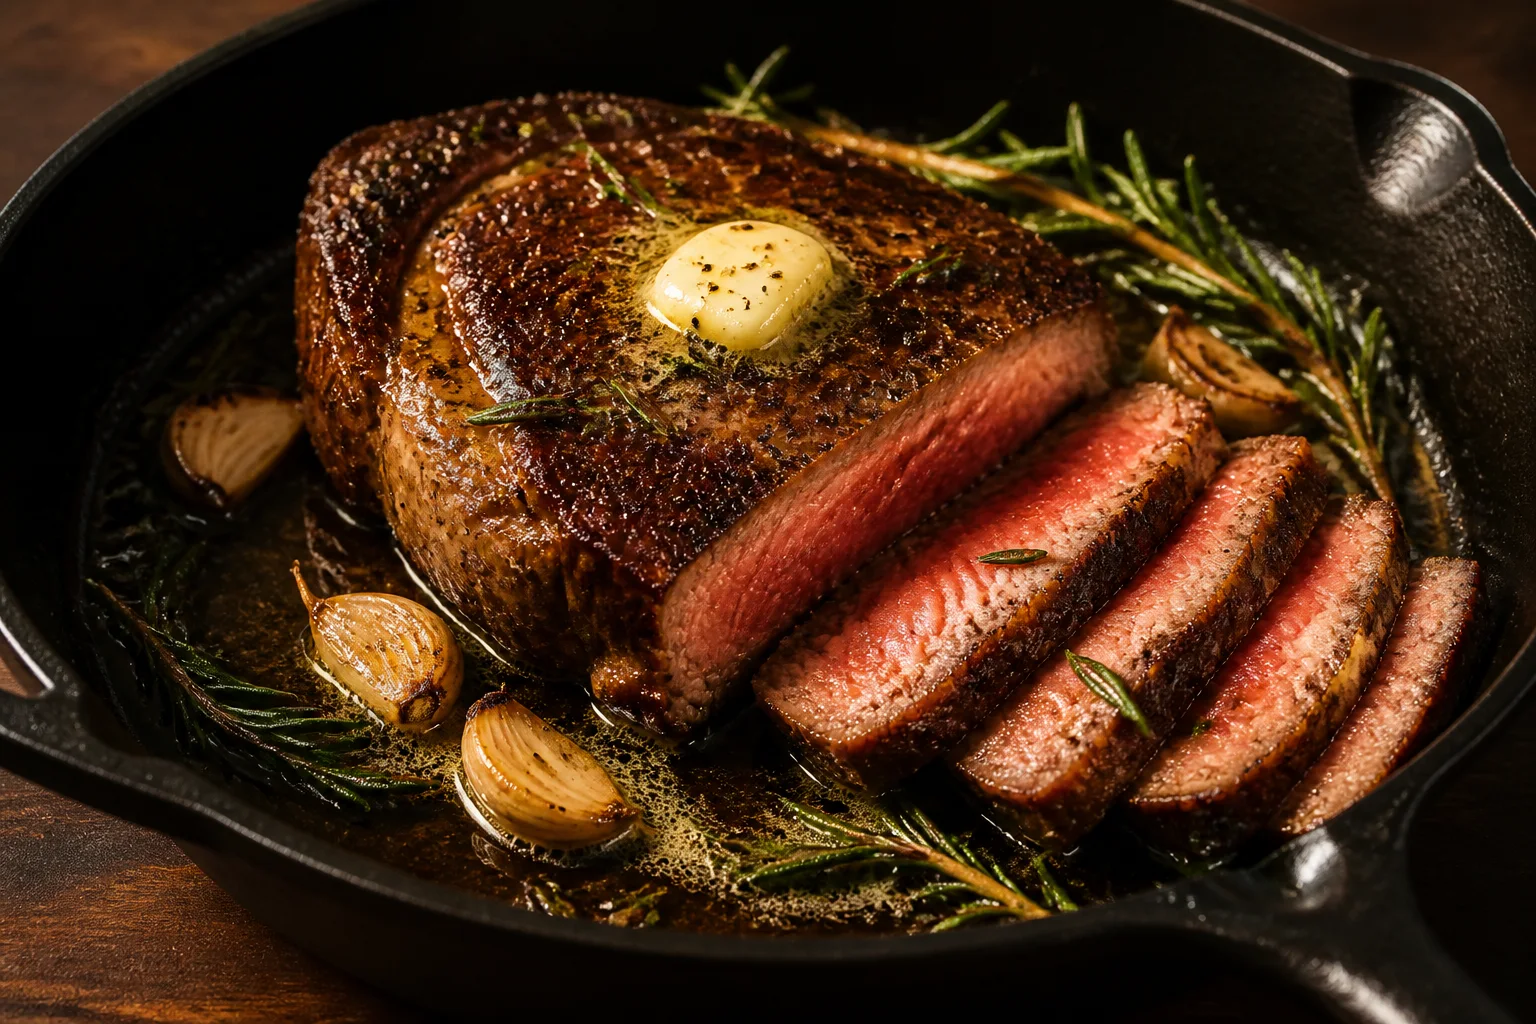
Lower the heat after the crust forms. Add butter, crushed garlic and robust herbs; tilt and baste briefly. If the milk solids turn black, pull the pan from the burner. The complete ribeye recipe gives measured ingredients.
Check, Rest and Slice
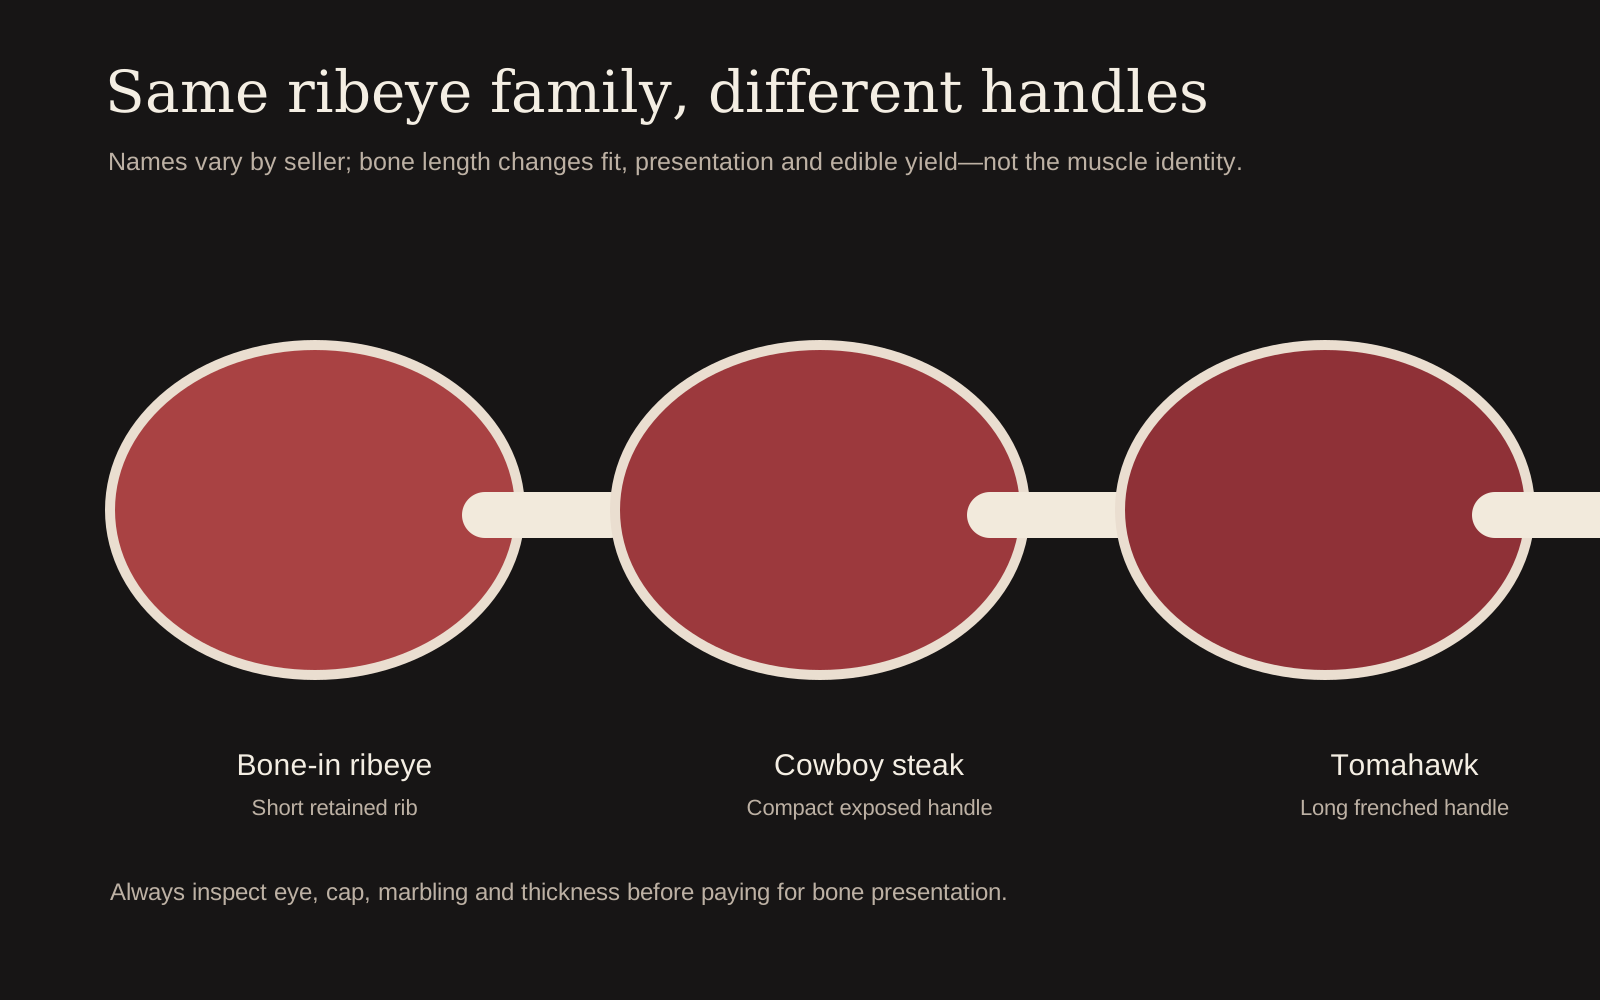
Measure the eye from the side, avoid fat seams and account for carryover. Use the temperature guide for doneness context. Rest 5–10 minutes depending on thickness and slice across the grain.
Manage Kitchen Smoke
Use only enough oil to coat the pan, ventilate early and wipe loose pepper or herbs that could burn. A clean hot pan smells toasted; acrid clouds signal burned oil or debris. For an outdoor alternative, use the grilled steak guide.
Control Rendered Fat and Pan Contact
Ribeye can release enough fat to change the sear halfway through cooking. Begin with only a thin film of neutral oil. If a deep pool forms, tilt the skillet and spoon some into a heat-safe container before adding butter. The steak should maintain direct contact with hot iron rather than float and fry in its own fat.
Cap and eye do not always lie flat together. Move the steak through several positions, giving pale ridges fresh contact, and turn frequently. Hold the exterior fat edge against moderate heat with tongs, but stop if the pan fills with smoke. A dark brown surface tastes toasted; a blackened fat edge tastes bitter.
For two ribeyes, use two appropriately sized pans or cook sequentially. Crowding lowers surface temperature and captures steam. Keep the first steak on a rack while the second cooks, then give both a very brief final warm pass if needed. A steak thicker than the pan can handle belongs in the reverse-sear ribeye method instead of a longer direct fry.
Plan a Cast-Iron Ribeye Before the Heat Starts
Cast iron can brown a ribeye exceptionally well, but the cut's marbling and exterior fat demand heat management rather than an uninterrupted maximum flame. A reliable result begins by separating decisions that are often bundled together: the cut and thickness, the surface condition, the heat source, the target center and the finish. When those variables are named before cooking, the clock becomes a reference instead of the only control.
Use a pan with open space around the steak, begin with a dry surface and identify a safe place to pour excess rendered fat if needed. Set out the thermometer, tongs, resting surface and finishing ingredients before the steak reaches the pan, grill, smoker or air fryer. That short mise en place prevents the common scramble in which butter burns, a sauce reduces too far or the steak passes its intended pull point while a tool is being found.
- Measure thickness at the thickest useful point. Weight alone does not predict the distance heat must travel to the center.
- Dry the entire exterior. Check edges, fat seams and bone recesses; hidden moisture can create a pale patch.
- Choose the probe path. Insert from the side into the coolest central area, avoiding bone and large fat pockets.
- Prepare a gentler zone. A cooler burner, indirect grill zone or lower oven gives you a place to finish without burning the crust.
- Name the resting surface. A rack preserves crust better than a deep plate that traps steam beneath the steak.
Compare the full workflow with our cast-iron steak guide. If the cut itself is unfamiliar, start with the ribeye guide so muscle, grain and trimming guide the technique.
Control Browning and Center Temperature Separately
Sear the eye and cap together, then use tongs to render the exterior fat edge without holding delicate cap meat against the hottest iron for too long. Crust and center temperature are related, but they are not the same measurement. Surface browning responds to dryness, direct energy and contact; the center responds mostly to thickness, temperature gradient and time. If the exterior is ready first, reduce the heat. If the center is ready first, the next attempt needs a drier surface or a stronger, shorter sear.
| Signal | What it usually means | Response |
|---|---|---|
| Weak sizzle | Surface or cooking surface is too cool | Pause, avoid crowding and restore heat |
| Black spices before crust | Fine seasonings are scorching | Use simpler early seasoning and finish later |
| Uneven reading | Probe is near fat, bone or a hot edge | Check from a second direction |
| Gray band expanding | Too much time over aggressive heat | Move to gentler heat sooner |
| Juice pooling during rest | Deep plate or premature slicing | Use a rack and complete the rest |
Take two readings when geometry is irregular. Thick bone-in steaks may have different thermal zones, while thin steaks can change several degrees during the time needed to reposition a probe. The goal is not to perforate the meat repeatedly; it is to confirm that one surprising number is real before acting on it.
Finish, Rest and Evaluate the Result
Lower the burner before basting and verify the center in solid eye muscle from two directions. Add butter, sugar-bearing sauces, fresh garlic and delicate herbs late enough that they flavor the steak without burning. Resting then allows the steepest temperature gradient to ease. Large steaks carry over more than thin steaks, so record the actual change rather than assuming a universal number.
A kitchen filled with greasy smoke usually means the pan contains accumulated rendered fat above its useful temperature; ventilation alone is not the full fix. If the result misses, change one major variable on the next cook. A lower pull temperature cannot fix a wet surface; a longer rest cannot repair slicing with the grain; more smoke cannot compensate for dirty combustion. A narrow adjustment produces evidence you can use.
Complete the plate only after tasting a center slice. Reduced sauces, compound butter and salty seasonings can make an already well-seasoned steak harsh. Acid, fresh herbs and crisp vegetables often improve balance without covering the beef.
Where This Guide Fits
This page supports the broader Ribeye Steak guide. Use that pillar page for the complete cut family, buying framework and links to every closely related article.
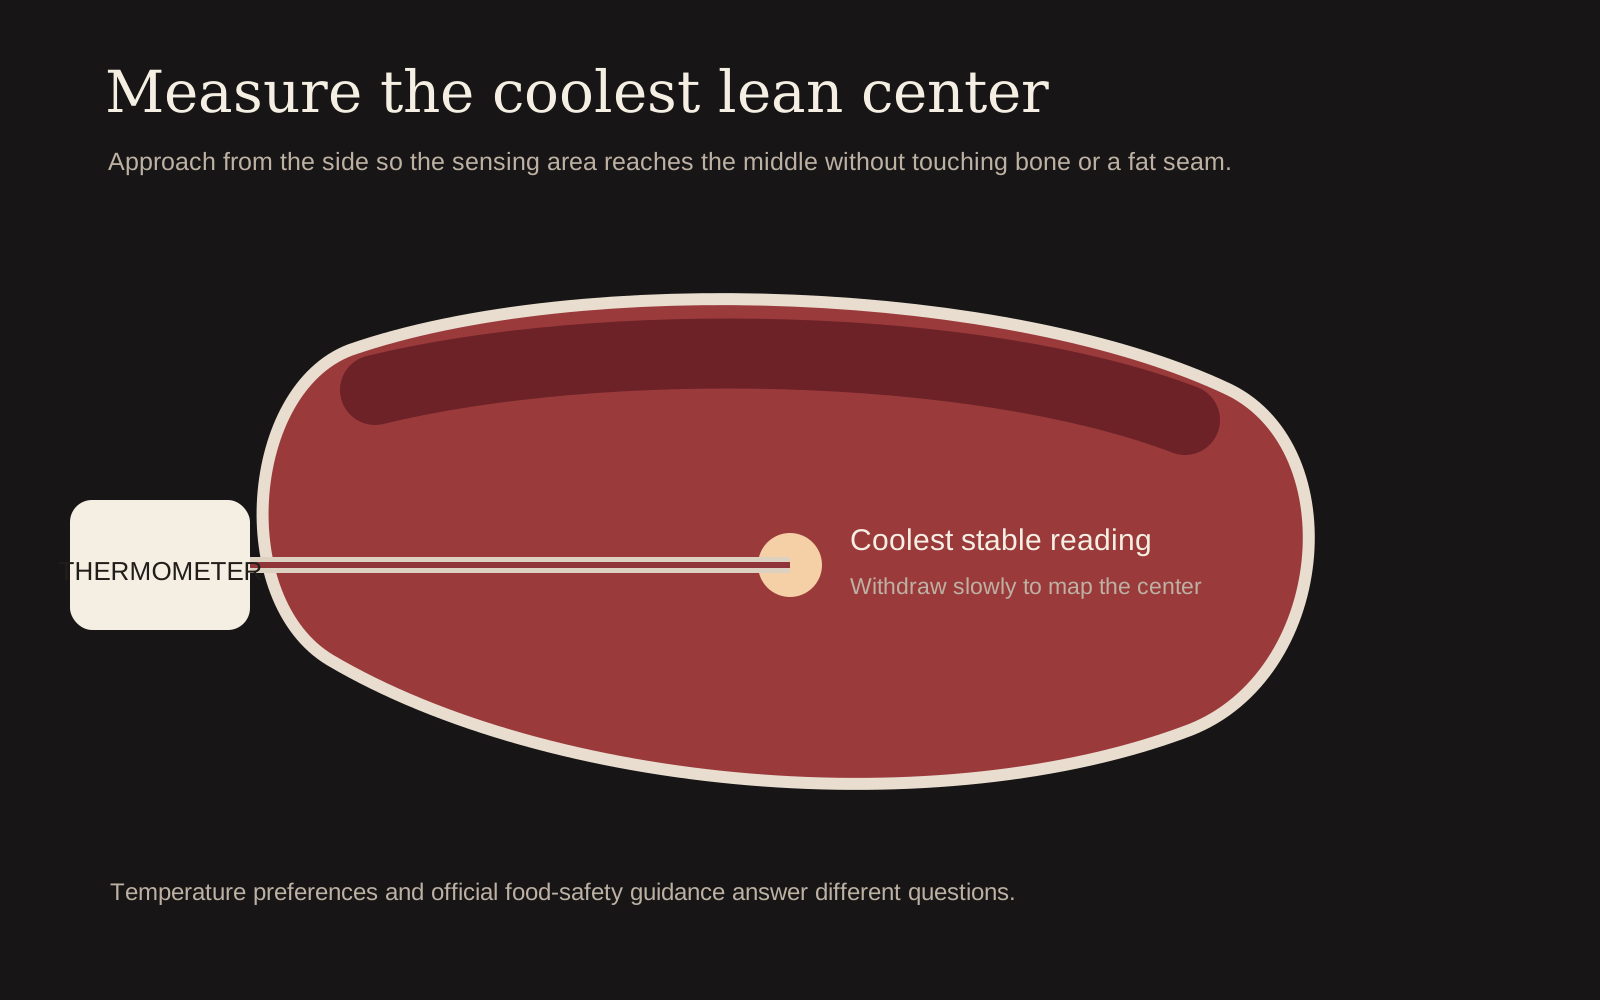
Useful next reads include Bone-In Ribeye Steak, Cowboy Steak, Ribeye Steak Recipe, Tomahawk Steak, and steak temperature for nearby cuts, methods and decisions.
Frequently Asked Questions
How hot should cast iron be?
Hot enough that a thin oil film shimmers and the dry steak sizzles immediately, but not so hot that the oil burns before the steak is added.
Can I use butter from the start?
Butter's milk solids burn under the heat needed for crust. Start with neutral high-heat oil and add butter after lowering the heat.
How often should I flip ribeye?
Frequent turns—roughly every 30 to 45 seconds—can build an even crust and help control the gray band.